
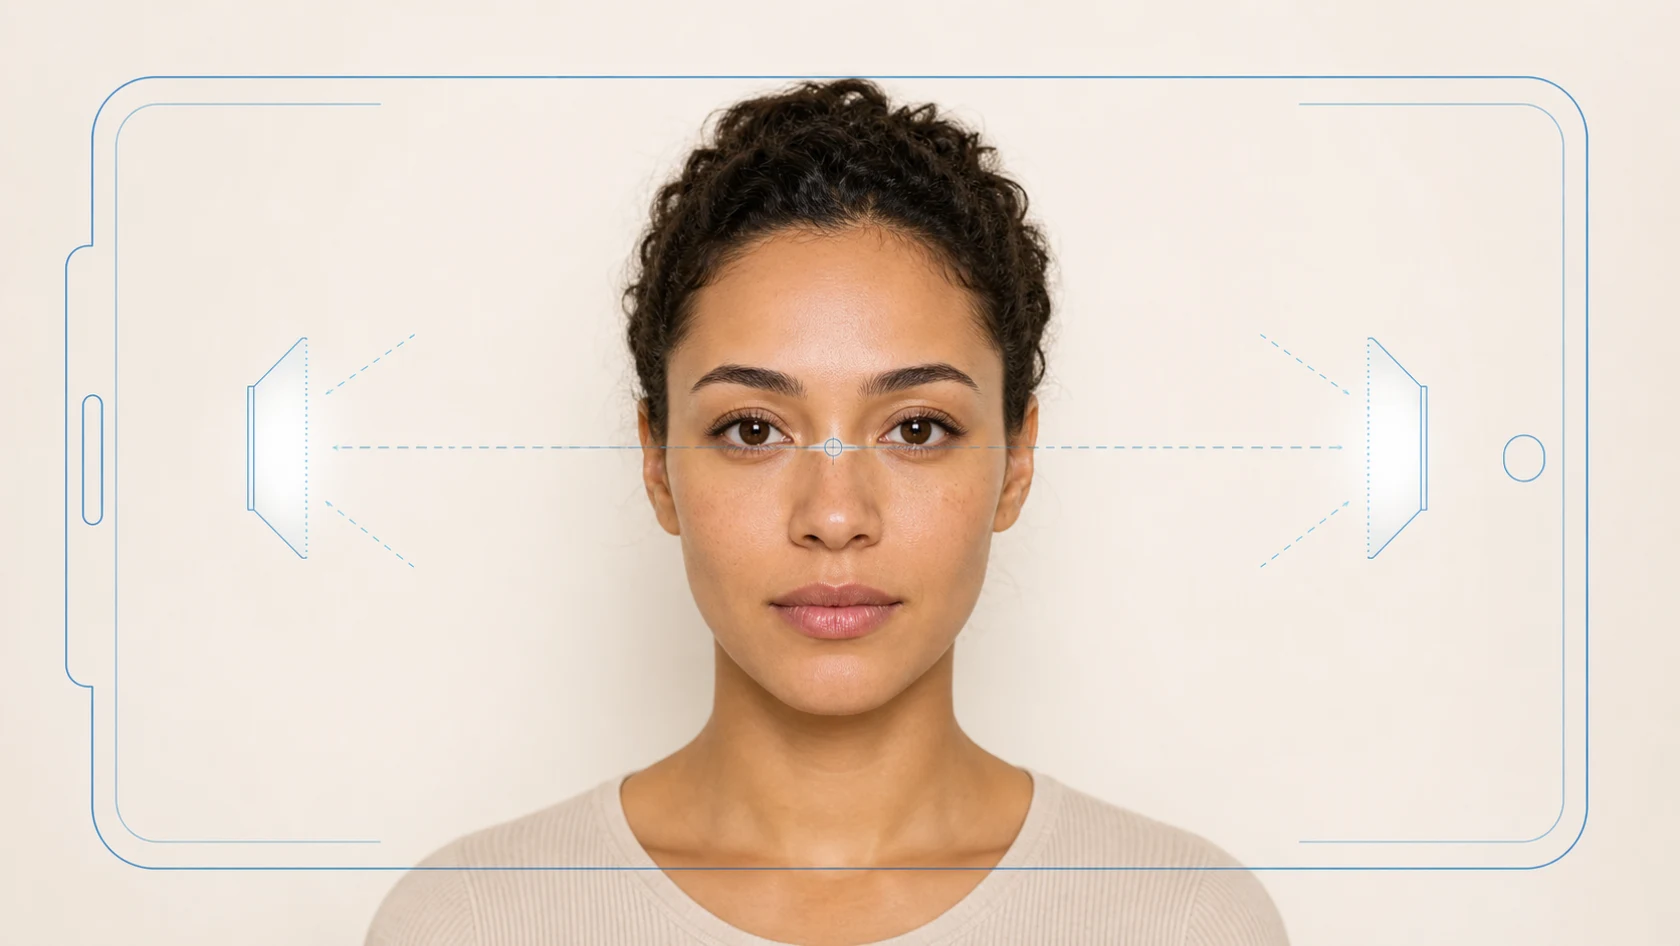
Why can two photos of the same person produce different AI face-analysis results? The usual reason is not that the face changed. Camera distance, camera height, head angle, lighting, expression, and filters change the visible relationships in the image. AI analyzes a two-dimensional photo rather than directly measuring a three-dimensional face. A clear, front-facing, natural, unedited photo makes facial landmarks easier to locate and the result easier to interpret and repeat.
The short answer
Place the camera near eye level, face it directly, step back rather than shooting at arm's-length close range, use soft even light, keep a relaxed neutral expression, and turn off beauty filters and reshaping. Include one person only, with the eyes, brows, nose, mouth, chin, and main facial outline visible.
| Factor | Recommended | Avoid |
|---|---|---|
| Distance | Step back, then crop | Extreme close-up selfies |
| Camera height | Near eye level | Strong high or low angles |
| Pose | Face the lens without tilt | Turning, looking down, or leaning |
| Light | Soft and even from the front | Backlight, hard top light, or deep side shadow |
| Expression | Relaxed and close to neutral | Broad smiles, squinting, or exaggerated expressions |
| Processing | Original, sharp photo | Reshaping, beauty filters, or compressed screenshots |
Why photo quality changes face-analysis results
A face-analysis system first detects a face and then locates landmarks such as the eye corners, brows, nose, lips, chin, jaw, and visible facial outline. It uses their image coordinates to estimate spacing, proportions, and left-right correspondence.
Shadow, hair, glare, and blur can hide a landmark or move it to the wrong edge. Even when landmarks are detected correctly, perspective changes their apparent distances. A close camera enlarges the nose and central face relative to the sides; a high, low, or rotated camera compresses other regions. Photo quality therefore changes what the system can actually see and measure.
What to prepare before taking the photo
- Clean the camera lens.
- Turn off beauty, face-slimming, eye-enlarging, and reshaping controls.
- Avoid ultra-wide mode.
- Find a place with even light.
- Stabilize the phone or ask someone to take the photo.
- Move hair away from the eyes and main facial outline.
- Use a simple background that does not merge with the jaw or hair.
No studio or professional camera is required. If you plan to compare reports over time, mark the phone and standing positions so you can repeat the setup.
1. Include one clear face
A group photo makes the system decide which person to analyze and often combines different focus distances and overlapping outlines. Use a photo with one person, a complete face, and enough detail to see the eyes, nose, mouth, chin, and facial edges. Do not crop so tightly that the hairline, chin, or sides of the face disappear.
2. Keep the camera near eye level
A camera above the eyes creates a downward view that emphasizes the forehead and shortens the lower face. A camera below the eyes emphasizes the nostrils, chin, and jaw. Put the lens center at roughly the same height as the eyes and keep the phone upright. Adjust the phone position instead of lifting or lowering your chin. Millimeter-perfect alignment is unnecessary; the goal is to remove an obvious high or low angle.
3. Face the camera without turning or tilting
A small turn makes the farther side appear narrower. A head tilt places the eyes, ears, and mouth corners on different horizontal levels. Check that the nose bridge sits approximately between the eyes, both ears have similar visibility, the eye line is nearly level, and the chin does not point to one side. Control the pose without trying to force natural facial features into perfect symmetry.
4. Step back and crop instead of shooting too close
Extreme close-up selfies are one of the most common sources of distortion. At short distance, the nose and central face are closer to the lens than the cheeks and ears, so they appear relatively larger. Facial width, nose width, eye spacing, and left-right relationships can all change.
Move the phone farther away, use a normal field of view, and crop the finished photo moderately. There is no universal distance in centimeters for every phone. The practical test is that the face should not show obvious wide-angle exaggeration while still containing enough detail for clear landmarks.
5. Use soft, even lighting
Natural light is helpful but not mandatory. What matters is that the full face is readable. A bright window without direct sun, soft indoor light, or a diffused light near the camera can all work.
Avoid a bright window behind you, hard top light that darkens the eye sockets, one strongly lit side and one dark side, colored light, glasses glare, and blown-out highlights that erase edges. The goal is not a studio portrait; it is clear landmark visibility with limited left-right lighting imbalance.
6. Use a relaxed, near-neutral expression
A smile is not forbidden, but it changes mouth width, lip-corner height, eye opening, cheek shape, and jaw position. For repeatable static proportion analysis, gently close the lips, relax the jaw, look normally at the camera, and avoid raised brows or squinting.
If you want to analyze a smiling state, take it as a separate condition. Do not compare a broad-smile photo directly with a neutral photo and treat every difference as a facial change.
7. Reduce obstruction from hair, glasses, and accessories
Hair
Move hair that covers the eyes, brows, jaw, or main facial outline. You do not need to change your hairstyle; the landmarks only need to remain visible.
Glasses
Clear lenses without glare may be usable, but thick frames can cover the eye corners. Removing glasses is usually more reliable when practical.
Other obstructions
Masks, hands, scarves, deep hat shadows, stickers, and portrait blur remove useful information. Ordinary makeup is usually less important than visibility, although strong contouring or virtual makeup can change perceived edges.
8. Turn off filters and facial reshaping
Phone and social apps may enlarge the eyes, narrow the nose, lengthen the chin, slim the face, smooth edges, or apply virtual makeup even when the result looks subtle. These are the same landmarks and distances a face-analysis system needs.
Use the original camera file rather than a social preview, messaging-app copy, or screenshot. Portrait mode can also blur the jaw or hair when its depth mask is wrong, so the normal camera mode is simpler and more reliable.
9. Check focus, detail, and compression
Zoom in before uploading. Confirm that the eyes, eye corners, nostrils, lip corners, chin, and facial outline are readable; the face rather than the background is in focus; there is no motion blur; and the image has not been repeatedly compressed.
If a photo is blurred, taking it again is more reliable than aggressive AI sharpening. Enhancement software can invent crisp-looking edges that were not present in the original image.
Front or rear camera: which is better?
Either can work. Rear cameras often retain more detail and apply less default beautification, but they are harder to align alone. Front cameras are convenient but encourage close distance and may mirror or beautify the image.
With a front camera, use a timer and support, verify that beauty settings are off, avoid ultra-wide selfie mode, and keep the phone directly in front. With a rear camera, ask for help or use a placement reference; do not replace good distance with heavy digital zoom.
Does a mirrored photo affect the result?
Mirroring swaps left and right. Some symmetry measurements may remain numerically similar, but side labels, local observations, overlays, and comparisons can change. Use the original saved orientation and keep the mirror setting consistent. Do not compare a mirrored front-camera image with a non-mirrored rear-camera image as if their left and right labels were identical.
How to take repeatable comparison photos
For before-and-after reports, keep the same camera and lens, distance, camera height, front-facing pose, lighting direction, neutral expression, hair and obstruction state, mirror setting, and crop. Save one acceptable photo as a setup reference.
If conditions changed, first interpret the result as a combination of photo and condition changes. A single consumer photo cannot prove health changes, treatment effects, or changes in three-dimensional tissue.
Common problems and fixes
| Problem | Likely cause | What to do |
|---|---|---|
| No face detected | Face too small, dark, blurred, obstructed, or one of several | Retake a clear, evenly lit, single-person front photo |
| Unexpected left-right difference | Head turn, off-center camera, or side light | Center the phone and compare ear visibility and lighting |
| Nose proportion changes | Close distance or ultra-wide lens | Step back, use a normal view, then crop |
| Eye landmarks move | Glare, hair, squinting, or blur | Remove obstruction, relax the eyes, and refocus |
| Jaw edge is wrong | Hair, collar, shadow, or portrait blur | Reveal the chin and outline and use normal camera mode |
| Same-day results vary | Different distance, pose, expression, or filter | Standardize the setup before comparing |
15-second upload checklist
- One person only.
- Face directly toward the camera.
- Lens near eye level.
- No strong high angle, low angle, tilt, or turn.
- Camera not extremely close.
- Both sides of the face clearly visible.
- Soft, even light without strong backlight.
- Relaxed, near-neutral expression.
- Eyes, brows, nose, mouth, chin, and outline unobstructed.
- No strong lens glare.
- No beauty, slimming, eye-enlarging, or reshaping filter.
- Sharp original photo rather than a compressed screenshot.
- Matching conditions if the photo will be compared with another.
How do you know a photo is good enough?
A useful photo does not need to be perfect. Think in three levels: detectable, where the system finds one face; measurable, where important landmarks are visible and pose is suitable; and comparable, where the setup is standardized against another photo.
A generated report does not guarantee that every section has equal confidence. Check quality feedback, landmark placement, and confidence notes. Retake low-confidence areas instead of overinterpreting them.
What about privacy?
Facial photos are sensitive personal images. Before uploading, understand how a service processes, stores, shares, and deletes images and reports. Upload only photos you have the right to use, do not upload another person's face without permission, remove unrelated people or private documents from the frame, and review a report before sharing its link. Read the FacialHarmonyAI privacy policy for the current handling terms.
Frequently asked questions
Does AI face analysis require a passport-style photo?
No. A clear, front-facing, evenly lit, unobstructed, minimally processed ordinary photo can work. Passport-style composition is useful because it is stable, not because the document format has special power.
Is natural light required?
No. Soft, even artificial light is suitable when the face is clear and free of deep shadows or overexposure.
Can I smile?
Yes, but a strong smile moves the eyes, cheeks, mouth, and jaw. A relaxed neutral expression is more repeatable for static proportions.
Can I wear glasses?
Possibly, if there is no glare and the frame does not cover the eye corners. Removing them reduces uncertainty when practical.
Does makeup matter?
Ordinary makeup may be fine. Strong contouring, altered brow or lip edges, and virtual makeup may affect landmark boundaries. Keep it consistent for comparisons.
Why do two photos give different results?
Distance, camera height, head turn, expression, light, obstruction, crop, mirroring, and filters can all move image landmarks.
Can one photo provide exact three-dimensional dimensions?
No. A single image is a two-dimensional projection from one viewpoint. AI can estimate visible relationships but cannot reconstruct every true 3D measurement.
A stable photo makes the result easier to trust
Good AI face-analysis photography is mostly about removing unnecessary variables: keep the camera near eye level, face it directly, use enough distance and even light, relax the expression, and disable shape-changing effects.
If two results differ, inspect the photo conditions before interpreting the difference as a change in the face. Continue with the facial fifths and eye-spacing guide, the golden-ratio face guide, or analyze a clear front-facing photo with FacialHarmonyAI. This educational analysis is not medical advice.